

But I'll try my best ^^
And I do apologize for any grammar mistake or if I repeat myself a few times :)

As normally, start by picking a needle and thread. I used a size 12 needle and Nymo thread in size D. The reason to why I chose such a thin needle is cause you're going to pass through the beads quite a few times, but I would say that a size 10 also should work, up to you.
And the reason to why I chose a thicker thread is cause the bugle beads have a tendency to shred the thread and cut the whole thing, and yeh... then we'll have a ruined piece. And since you pass through the beads a couple of times, as I mentioned before, you will decrease the chance that that will happen.


Slide them down to "almost" the end of the thread, leaving a comfortable length of tail behind.

Then go through all the beads with your needle and thread through the opposite side .

Pull tightly at the thread where your needle is attached and the tail.
At this point you can chose to either leave the tail loose or just tie the thread together in a knot. A simple over-hand knot or a surgeon's knot.

Personally I prefer the surgeon's knot, cause then I know that it will sit there

From there you'll go through the 8 11/0 seed beads with your needle and thread.

Then you also go through the two 9/0's and the bugle. Now this is the pattern; you should always end your unit by coming out from the two 9/0's and the bugle, either from the top or from the bottom.

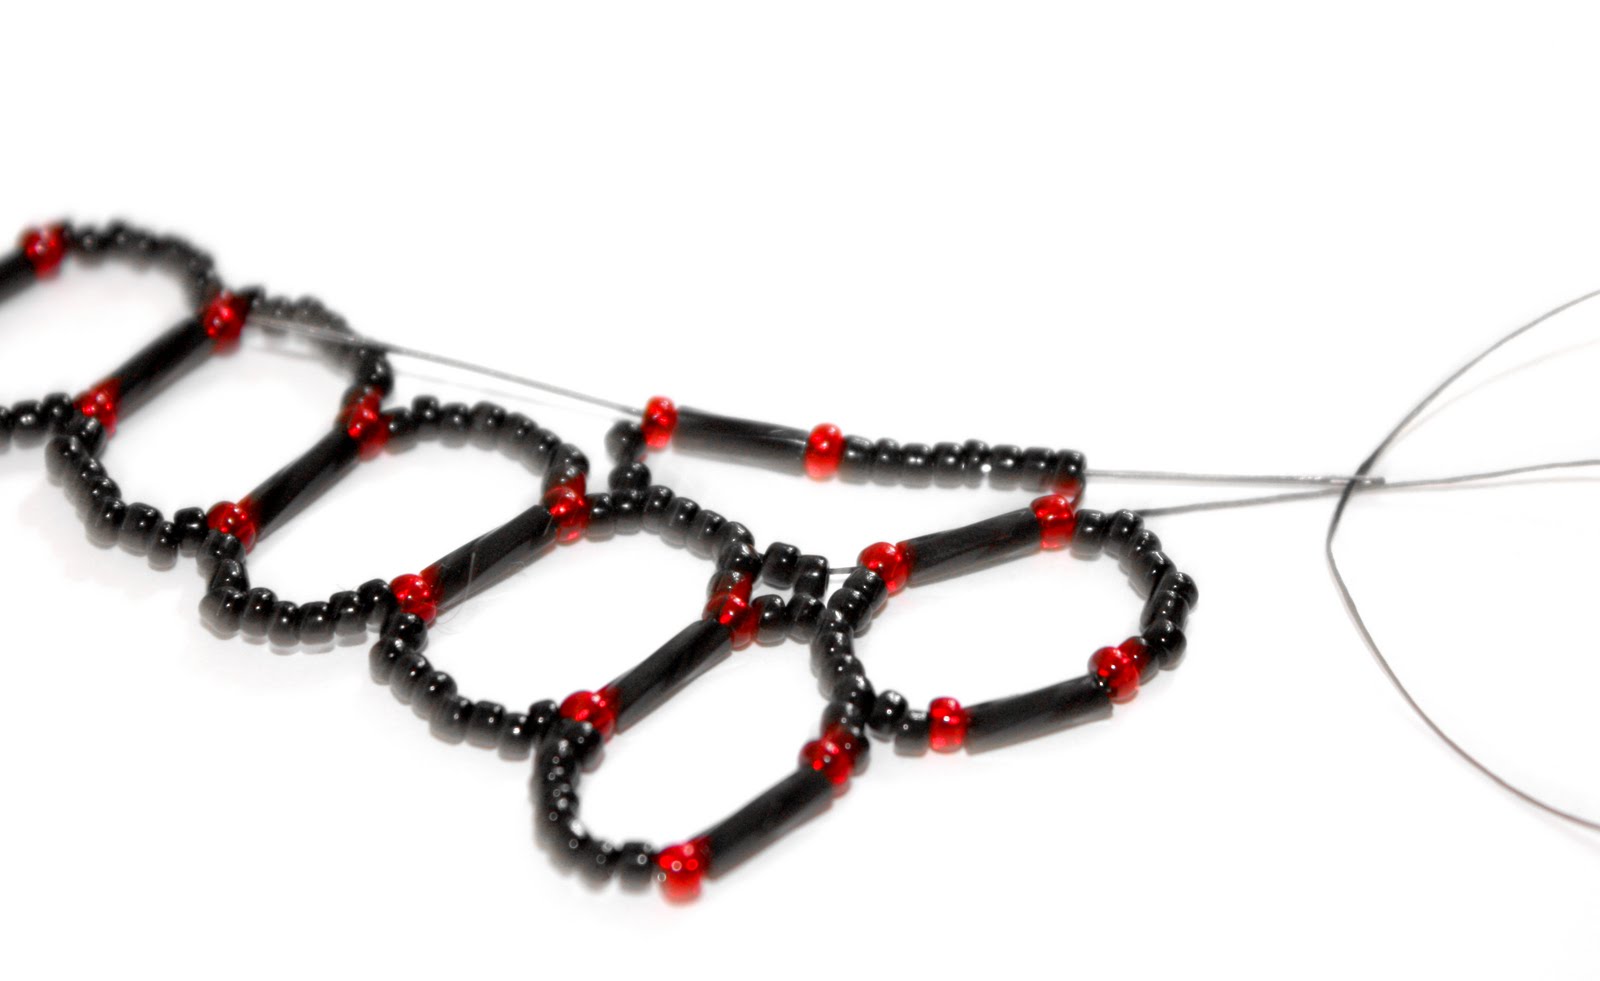
Begin the second unit by picking up 8 11/0's, 1 9/0, 1 bugle, 1 9/0 and another 8 11/0's.
 And like every other right angle weave we sew our needle through the opposite side of where we came out, but through those same beads.
 Pull your thread tightly so the beads are lining up in a square.
 And then through the 9/0's and the bugle, so you yet again finish the unit by having the thread ending through the part with the bugle bead.
Keep repeating these steps until you have the desired length as you want.
 Now we're going to begin the second row. Remember; your thread should always end at the part with the bugle bead. So after that you begin by sewing through 6 or the 11/0 seed beads next to where your thread is coming out.
This time; pick up 2 11/0's, 1 9/0, 1 bugle, 1 9/0, 8 11/0's, 1 9/0, 1 bugle, 1 9/0 and another 2 11/0's.


Pull your thread tightly to for the unit.

Now, go through the two 11/0's and the 9/0's and the bugle bead, ending this unit.


Begin by picking up 8 11/0's, 1 9/0, 1 bugle, 1 9/0 and 2 11/0's.

You begin by passing your needle through the four 11/0's in the middle of the second unit in the first row.


Repeat these simple steps until you have the desired length and thickness of what you want, whatever your making a necklace or a bracelet, or maybe even something else :)
I also decided that I might share on how I added the little diamond in between the 9/0's and the bugle at the end of the pieces. This part is where I added the attachment of pearls and little toggles.


And there you have it!
No comments:
Post a Comment