Perlesandco 468x60

Thursday, November 3, 2011

Hair Comb: Autumn Fall Colors 2011

This morning I began on a smaller project that I've been having in my mind for a while, ever since I saw the fall colors for this autumn; pink, turquoise and light yellow.
I decided on going a little crazy and use ALL the colors in different shades and make a hair comb using wire and crochet.

For beads I used some 11/0 seed beads in the different colors, some pearls and some Czech glass roundel beads, 28gauge black coated copper wire, 24gauge black coated wire and of course a silver-plated comb which is about 4x5cm (40x50mm - I don't know it in inches, sorry).

For this design, I first made the pieces I wanted to crochet and then I wired them around the holes in the comb in the order I wanted them. Then I began building some little "towers" or whatever we can call them lol.
What I wanted mainly with these towers is that I wanted to be able to twist the crochet ropes around them to bunch 'em up in a nice way.
Also also used some transparent crafting glue here and there, just to make sure the design will forever remain (unless you drive over it with a truck of course :D ).

Personally, I don't really use accessories to decorate my hair and I'm not sure I'm gonna use this either. It was just a fun project which gives some variation to the bead-weaving I'm normally doing. But yeh, if I get any personal requests in the future about more hair combs I won't hesitate.

Wednesday, November 2, 2011

Bead Embroidery: Polymer Clay Cab. Day 2

Yarr!
Been spending this longer weekend together with my bf so I haven't really been able (or wanted) to blog anything for these couple of days :3

♥I also took the freedom of changing some colors and images on my blog just for the fun, and since the season is changing... And yeh, I were a little bored of the old one LOL.

My last post were about an almost finished project were I used bead embroidery (featuring a handmade polymer clay cabochon) - awesome technique by the way!

So yeh, I finished it now and I'm pretty happy about it.
For the chain I wanted to attach the pendant in I decided on making a spiral rope. I just did this spiral rope like I did with the opera length necklace I did in gunmetal with some triangle beads (Thorn); I first strung on the focal beads until I got the desired length I wanted for the necklace. I used a nylon coated wire were I put the 8/0 focal beads on tho, just to give it some more strength. Then I used nymo and a size 12 beading needle, making sure I would be able to get both my needle and my thread through the 8/0's.

For the "bail" I used simple peyote stitch, and then I embellished it a little with some 11/0 galvanized silver seed beads, and again those gorgeous moonstone chips.

Sunday, October 30, 2011

Bead Embroidery: Polymer Clay Cab. Day 1

I posted last week a couple of polymer clay cabochons that I've made, having in my thoughts that I would do some bead embroidery.
Here is the "almost" finished result. I'm gonna work around the edges after I've cut it out, and then I'm also gonna figure out a chain and how I'm gonna attach it.

I really enjoyed this, and found it extremely fun. And with embroidery you can work pretty much how you want, and experiment with different types of stitches.
I ended up attaching a couple moonstone chips as an embellishment as well and I really, really like it.

I chose pretty much only to work with metal like colors for this one, since I didn't want to run away too far from the theme which the polymer clay cab already had.

Thursday, October 27, 2011

Stretchy Montee Rings

I looked this morning at the bead channels I'm subscribed to on YouTube and noticed that Off the Beaded Path had put out a new video featuring a ring, embellished with some montees. I wanted to try this one out since I have stacked up on a couple of montees since this spring.
After I made my first ring, I felt that I just HAD to make a second one. The ring is really pretty, and it goes really, really fast to create and are a perfect gift, now when the holidays are slowly beginning to sneak up.
To go directly to the video, click here.

The supplies you need are a couple of montees; mainly size 3.2mm, but for my second one I used a 6.2mm. You'll also need 10 4mm pearls and about 10 11/0's and a few 8/0's. And some beading thread and a stretching cord. I found my Stretch Magic laying around in a box, lol.

The best thing I find about this ring is that it uses the stretch cord; means it will fit most sizes of fingers, and is therefore a really great gift if you don't know what size the person you're giving the ring to has.

Tuesday, October 25, 2011

Polymer Clay Cabs

So, yeah. Having my final dutch exams this week; finished the first four and still got the last one on Thursday.
I took myself some freedom to actually create some polymer clay cabochons this Sunday. The reason was that I've been having a couple of polymer clay colors laying around, I just haven't been in the mood since a little while. The other reason is that I haven't been able to find any cabs in any of the local craft stores - so I have to wait until I'm gonna make my next online purchase to fill my stash even more, Mwahahaha!

The process I went through before I began making my cabs, is that I first measured out some different sizes I wanted to make, on a paper. Yeh, I'm gonna get my hands on some molds in the future as well, lol - will make life a tad bit easier.


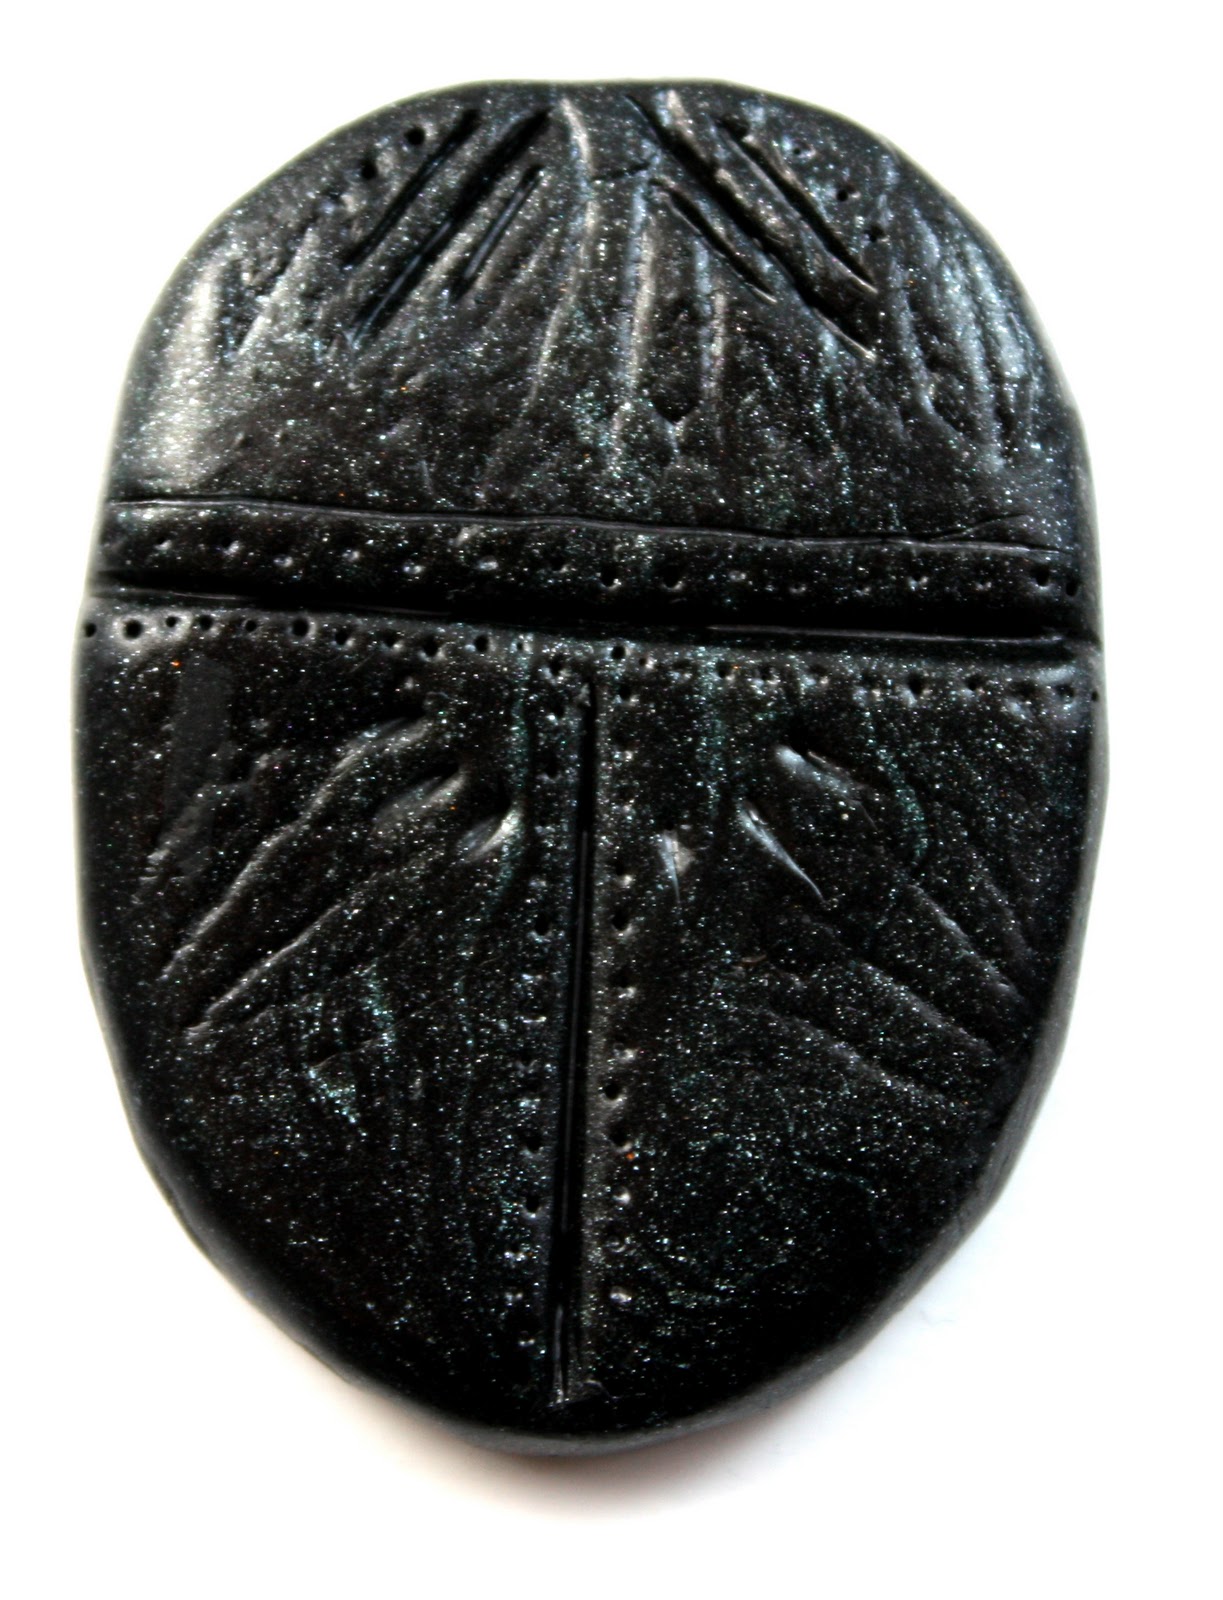
Yeh, the inspiration I kinda had when I made the following cab was pretty much a scarab. 
 For this cab, I wanted to experiment with the bronze powder I bought a while ago. Then I made a little texture print using some different stuff. Then I painted over the texture with the powder... shiny.


For the following little rectangle set, I ran out to the garden and tried finding a perfect leaf that I could work with. Then I put the leaf on the clay and used my roller to get the texture of the leaf. Then I used some silver powder to make it shiiiiny lol
Related Posts Plugin for WordPress, Blogger...