Perlesandco 468x60

Tuesday, January 28, 2014

Necklace: Child of Night

As most of you probably know by now, I'm a sucker for everything fantasy related. This time I also chose my source of inspiration to come from the world of film.
A couple of my favorite movies are the "Underworld" movies (at least the three first ones). A few weeks ago I bought a druzy agate cabochon with a titanium coating from Fabby Dabby Stones on Etsy, and John has a lot of unique designer cabochons in his shop so I definitely recommend those that are interested in that to have a look ;)

Anyway, this stone I bought just screamed "Underworld" at me when I got it in my hands so of course I had to do something related to that.
Main idea for what I had in mind was to put some focus on blood, as the blood is very important on both the vampire and the werewolf side. I used a mother of pearl disc bead to give some hint to the werewolf aspect as well, as blood is most related to vampires in most sagas.

I wanted the piece to be wearable with just a simple t-shit and jeans so I made the chain longer, approx. 60cm (23.6").
It's been a while since I've worked with gunmetal colored beads, but I really enjoyed going back to that as I'm personally a sucker for metallic colored beads in general, heh.
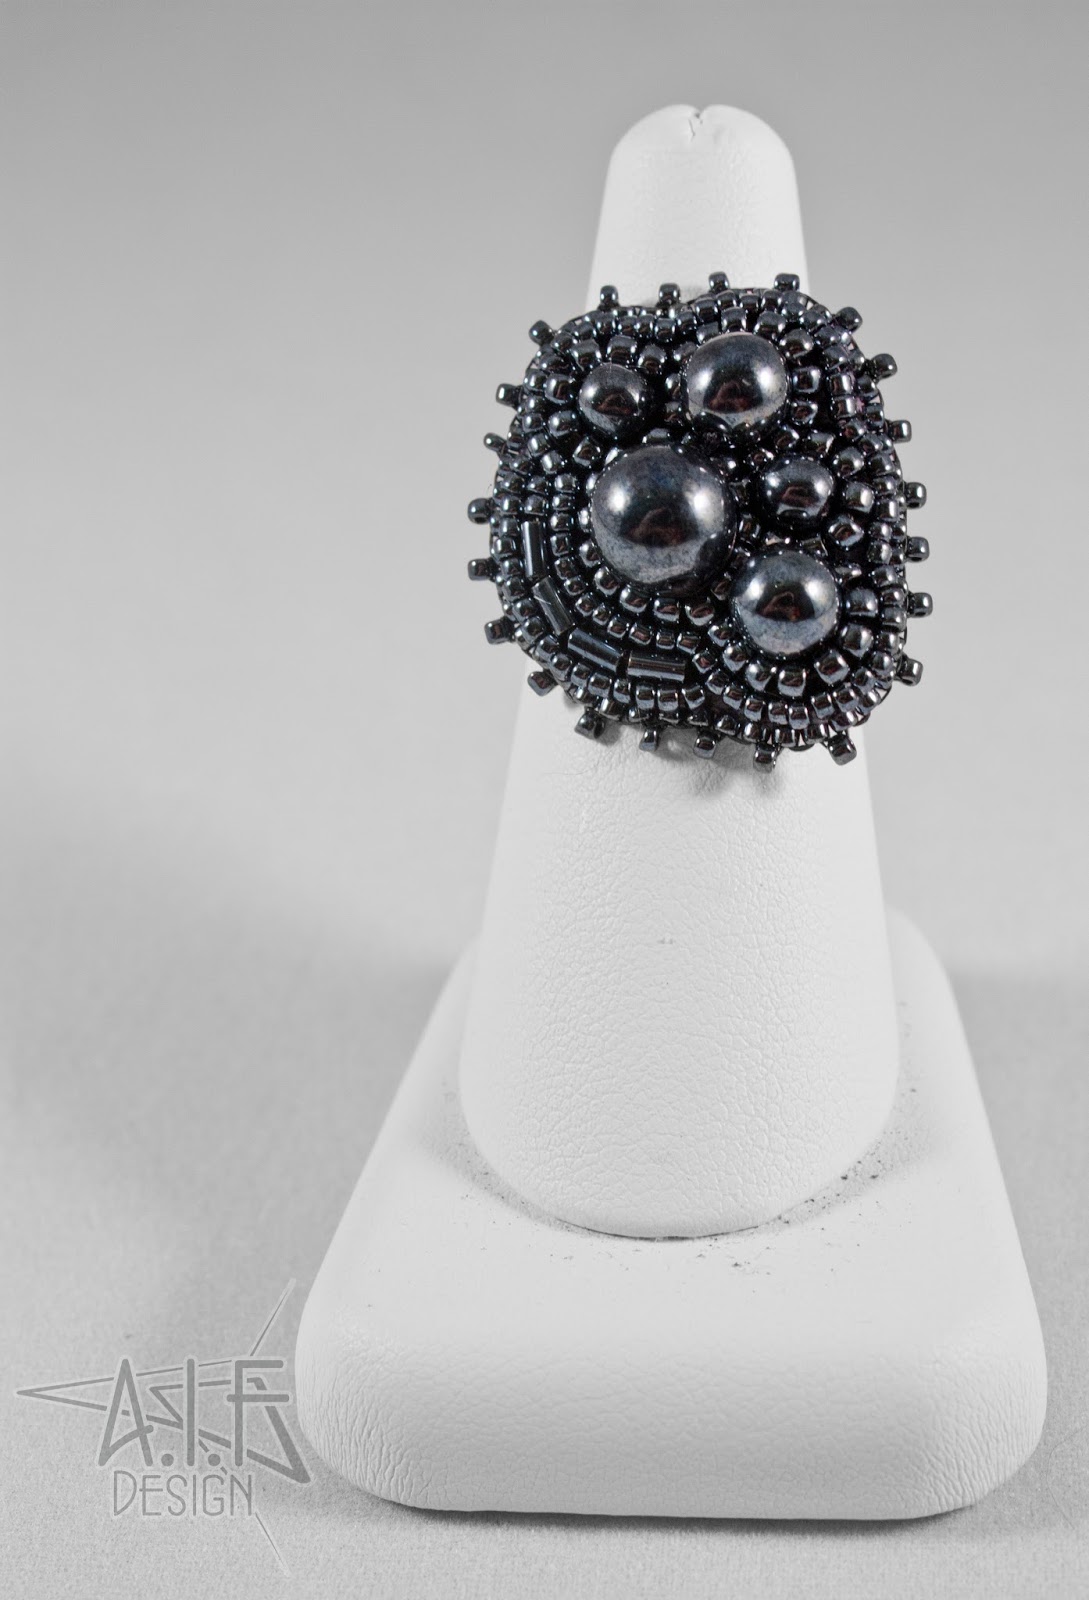
I actually enjoyed working with this piece so much that I ended up creating a matching ring that goes with the theme, mainly using those 8,6,4mm round Czech glass beads in gunmetal. It really created a cool texture scalloping them like that :)


Monday, January 27, 2014

Necklace: Grendel & Free-form Process

The inspiration for this necklace comes from the story and also from the 3D animated movie Beowulf. A lot of it is focused around the monster aspect of the story, therefore I choose to call it "Grendel".

I want to share my process with you, my lovely readers, my experiences when it comes to working with and creating a free-form bead embroidered necklace. I'm gonna also explain how I worked the free-form bead embroidered bracelet I posted some weeks ago and how I took what I learned from that and made it work for a necklace.

The first thing I did when it came to the bracelet is that I decided to use one of the cuff templates I have for when I put a metal cuff blank in-between the beading foundation and the backing. I wanted it pretty tight and neat for where I was going to add the clasp, so I added about 2.5cm (1 inch) extra of the fact that the metal cuff is a bit smaller.
I then used that template and drew it onto the foundation. Why did I do this for a free-form piece? Simple, I wanted to see how far I could work to have it somehow end up perfectly on the wrist. That is the only guideline I had, the rest is 100% free-form. I chose a focal I liked then some smaller cabochons which I liked with where the design was going.

So for the necklace!
I principal is pretty much the same. The only difference is that I cut out a 14cm in diamater circle and drew that out on my beading foundation. What's it circle for? The circle determines where the neck is gonna be on the necklace. What I did was also to measure out the center of it, so I would have some sort of idea where to go.
I placed the focals I had chosen on places where I personally thought it would look neat and glued ONE piece down, and then I began to bead. When it comes to free-form and placing focal pieces such as cabochons, I always choose to glue them down one by one, and with that i mean that after I glue down one I let it dry and then I bezel it with beads (ex. peyote). After that I move on to the next focal. See, when I was working free-form I hadn't decided where anything would be at all and therefore I chose to place my materials down slowly.
You can probably see on my "Grendel" necklace that there are two separate pieces and not one solid. After I had finished the left side of necklace I began to look at the piece and experiment with the focal pieces I had on what I wanted to do for the right side, and I ended up making them separates. Just an impulse decision!

Saturday, January 4, 2014

Some New Polymer Clay Cabochons!

Earlier today I ended up taking a little break from the necklace I'm working on, and I ended up playing with polymer clay.

For these ones I had a pretty basic idea that I started out with; I just wanted to make a sort of marbleized effect on some basic oval and round shapes. So what i did first was use some scrap clay and first put those in molds. Then I took the colors I wanted to work with and mixed them up and then ran them through the pasta-machine a couple of times till I had a nice surface I wanted to cut out.
Then I ran the clay again without folding it through setting 7 and got it really thin. Then I covered the scrap clay cabs with that thin layer of color mix I just made. I basically got this idea from a video of "Beads, Baubles and Jewels" - I can't remember which episode it was, but pretty much all of the episodes of the latest series of that show is purchasable from http://www.interweavestore.com/ from about 2,25$, less even during special sales event.

So what then?
The cabs really just looked plain at this point, and I ended up being in the mood to do something different with them. I took some of the new clay tools I recently purchased and ended up playing with different types of textures. And in the end... I ended up embellishing most of them with some 2.2mm Swarovski chatons - who can resist a little sparkle? lol...
And yes, working and trying to place those small 2.2mm chatons was really just annoying sometimes, lol.

I would also like to add in this blog post that I read every comment I get, and I appreciate them very much. Sometimes I'm in that mood where I'm not always in the mood to make a reply. 
I also read every single one of the blogposts that are made from blogs that I'm following, and I really enjoy reading them and seeing what the bloggers have been making. Again there, I've been very down and it's one of those periods where I haven't been in the mood to make a comment at those either. 
 

Friday, January 3, 2014

Video Slideshow and Free-form Bracelet

First off, I would like to wish everyone a happy 2014! :D

Second, I put together another video slideshow of the pieces I made following the period from this summer to the end of 2013.


I've also been in the mood for quite some time to create a free-form bracelet with bead embroidery, I've just been lazy. Meaning I have figure out the basic size so it would actually fit around a wrist.

Since it's a new year and due to the facts that I had completed all the creations I wanted done I ended up taking one of my templates I have for creating bracelets that goes over a metal cuff. What I basically did was putting the template around my own wrist and eyeball how many extra centimeters I would be needing to add so it would look good and fit perfect together with a slide clasp.

I mainly measured out the center of the template and choose a focal I wanted to work with, in this case an Abalone cabochon. Then I fiddled through the glass eye cabochons I'd made myself some weeks ago. Yeah, I decided that to me, it's more affordable to buy clear glass cabs and then create my own eyes in PS since I have the skills for doing that + I have a really freaking awesome photo-printer, lol.
For the pictures, I also got to use my brand new photo-tent that my sweet bf bought me last month. I don't have a table really where I can put it in my little studio, so I put it together for the moment at one of the living room tables, where it won't stay, obviously :p

Tuesday, December 24, 2013

Merry Xmas & Happy New Year and a GIVEAWAY!

I know I haven't been blogging a lot lately, my apologies. But yes, been very, very busy and I really haven't taken the spare time I have to blog, rather I prioritized my beading :)

Anyway, Xmas is today (in Scandinavia and in lot of other countries around the Baltic Sea we celebrate the 24th - it has to do with that we used to have the old Norse believes) and 2013 is soon at an end, so I'm feeling extra spirited and I've been wanting to host a giveaway for some time I just didn't know when. But since it's the holiday, I figured this is the perfect time.
My little way of saying thank you to everyone out there that love and support my work. Of course I would love to give each and everyone something, but that isn't possible.

So, what will you be able to win and how?
The necklace in the photo I added in this post is what I'm letting one random, lucky winner get.

All you have to do is like my FB Page AIFDesign like the correct photo and share it. When I've reached at least 100 likes I'll draw a random person from my like list.
The giveaway is open to EVERYONE.
Related Posts Plugin for WordPress, Blogger...